Have you ever walked forward and heard an ominous creaking noise from the deck of your boat? Maybe you have noticed cracks in the deck with dirty brown water seeping out of them? Or maybe you’ve seen dirty brown streaks coming down the inside of the hull? If you have seen anything like this, your boat’s deck core may be rotting away.
If your deck has cracks or holes drilled through it, water may be getting into the core. Check each part of the deck carefully for cracks and check under the deck for water getting through drill holes holding deck gear in place.
If the core is rotted you will need to repair it. The actual job is not too much work, but it is messy. The first step is to check every stanchion base and deck fitting to ascertain the extent of the rot. There are several ways to do this. The first is to put a moisture meter on the deck and use it to find how far the moisture has spread. The problem with this method is that if you do not have experience with using a moisture meter you are likely to get a false reading. Plus, the area that is wet might be larger than the actual area of rot. If the wood isn’t rotted, it can be dried without having it rot.
A second method is to tap on the deck and listen carefully. A properly cored area will sound solid, while a rotted area will sound as if it is hollow. Yet another way and the most reliable method is to get an expert to take an infrared photograph of the deck where the wet areas will show up as a slightly different color. Remember, too, not all wet areas are rotted, so you might want to cut out a small area first.
On our boat we measured the area of wetness and marked off the deck to cut. The wet areas were fairly large and we decided to cut smaller areas first, expanding them as we found more rot. We began by finding out how thick the deck core was and estimating how thick the laminate was. On our boat the deck core is half an inch and the laminate about 1/8 inch. We set the rotary saw blade at 1/4 inch to ensure we cut through the outer laminate and not through the entire deck. In the areas that were rotted the laminate came up easily, but to get to good core material we had to hammer a wedge between the core and the laminate to force them apart.
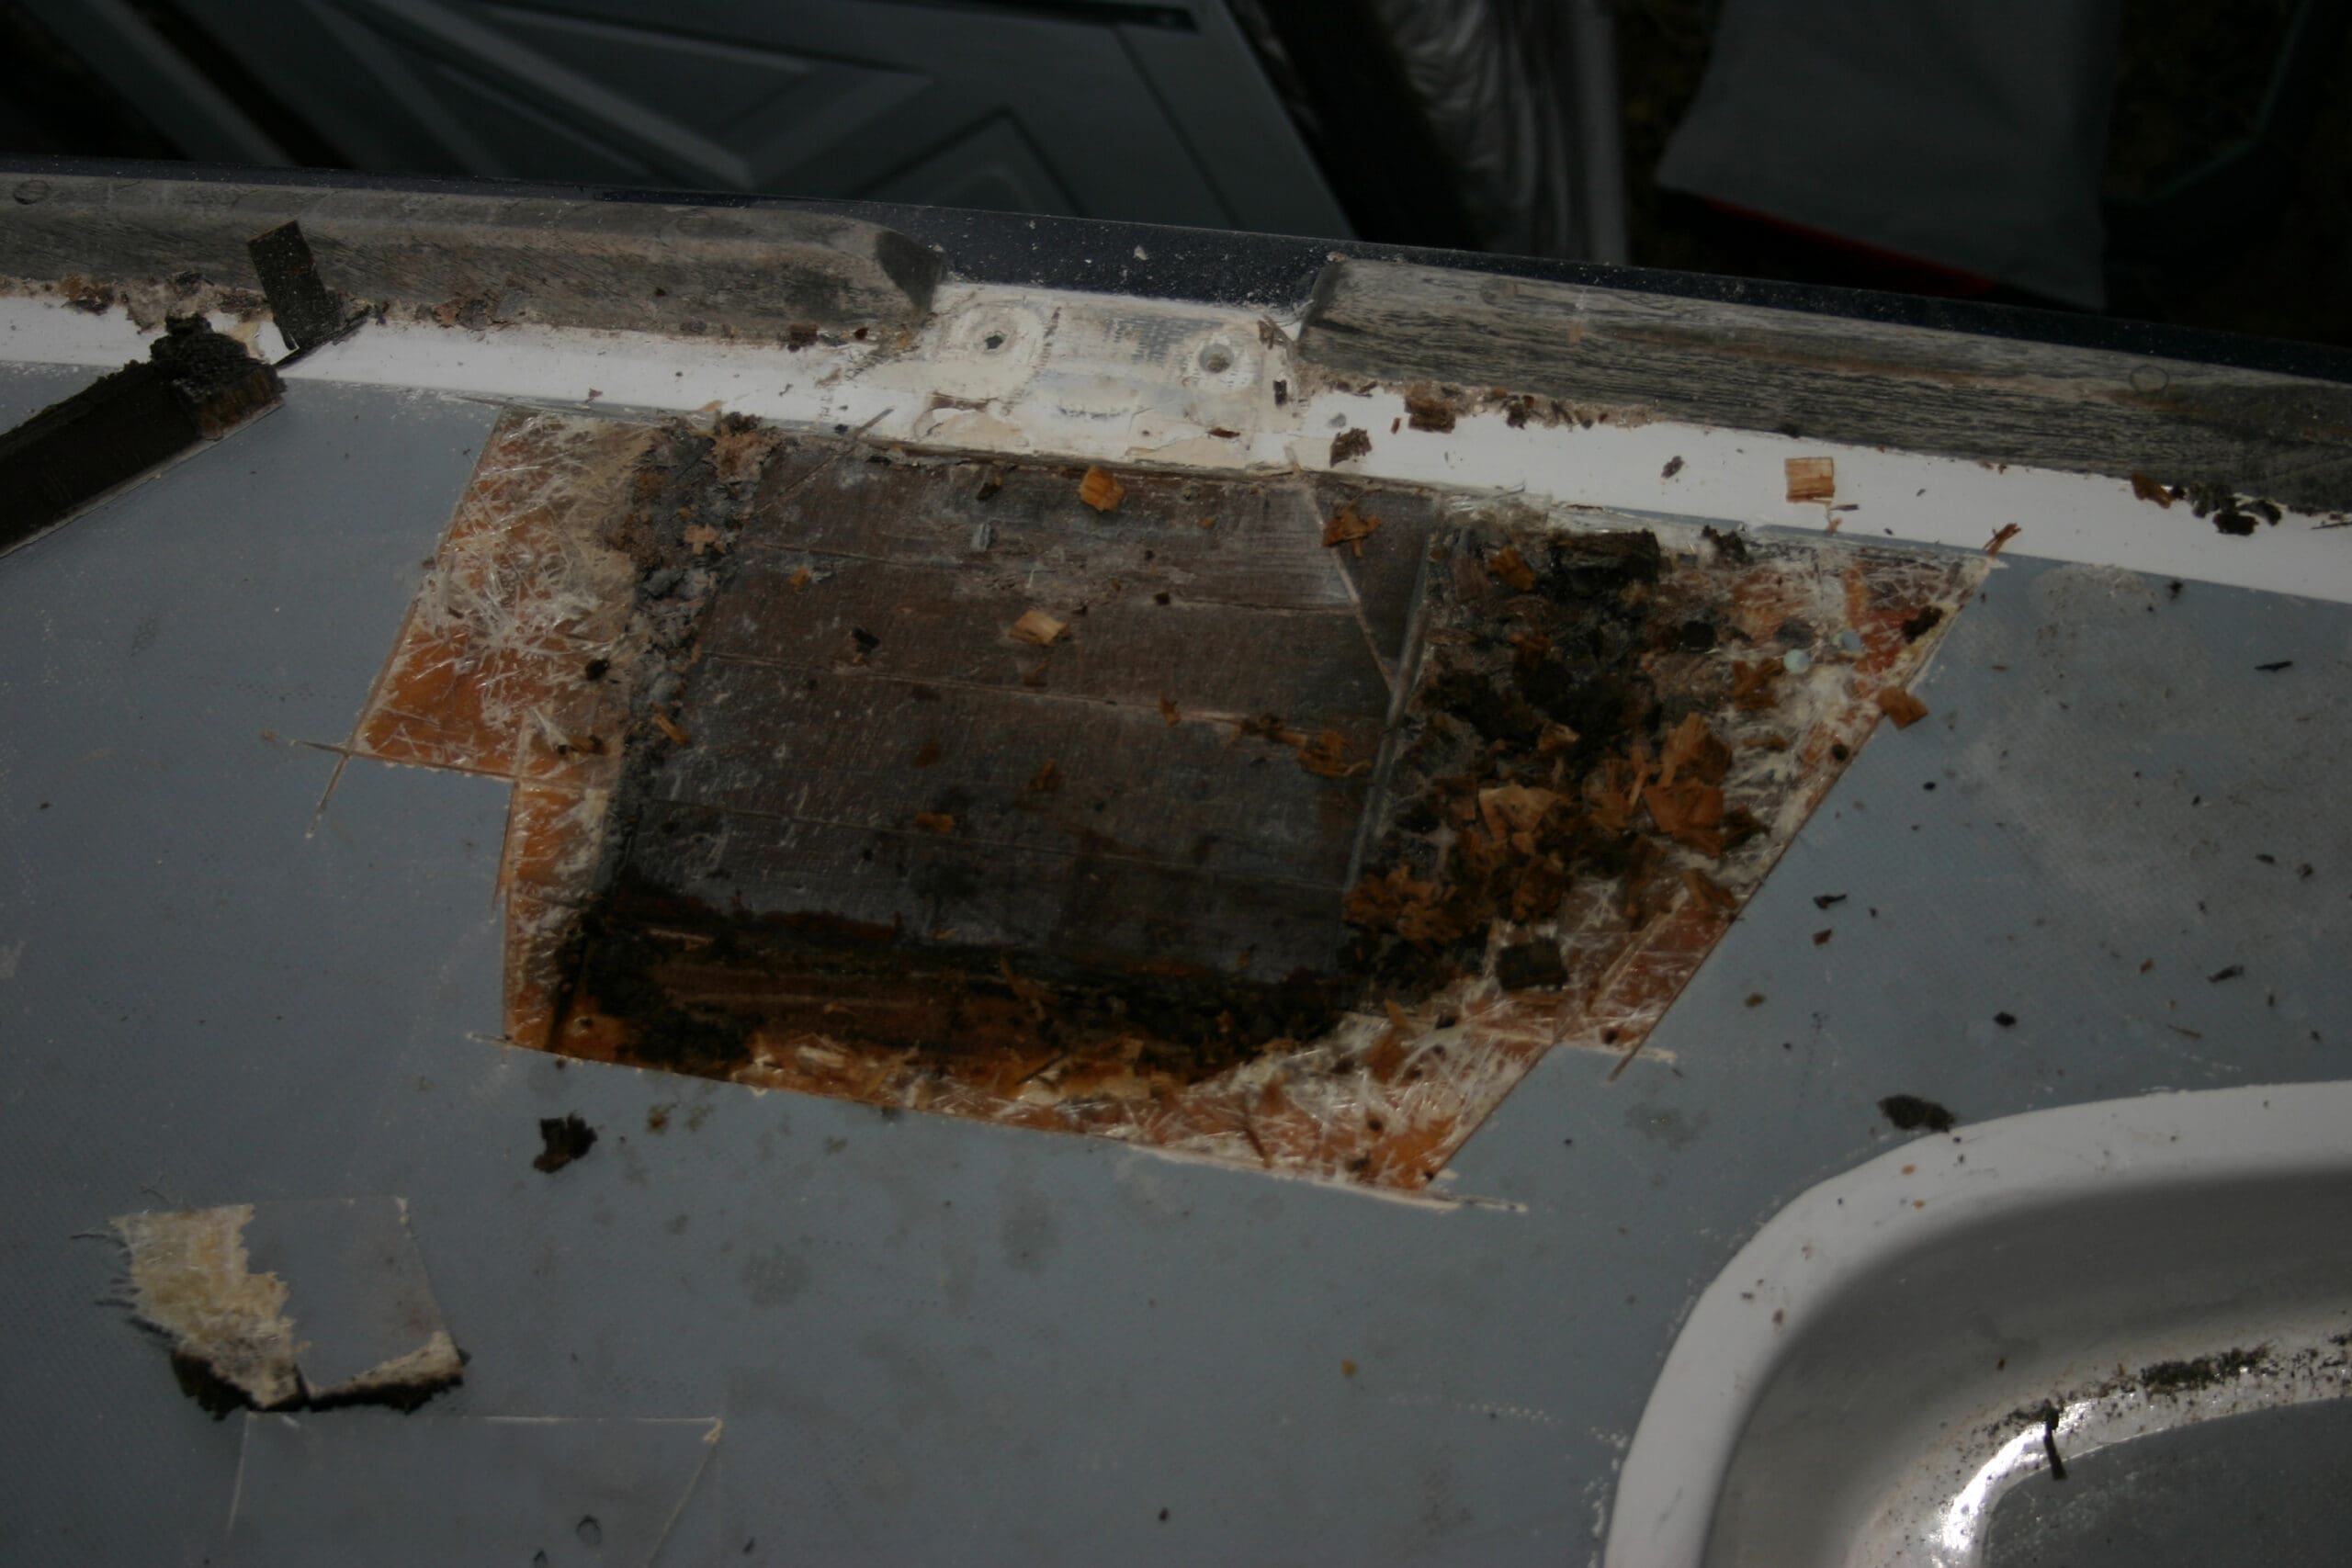
Rotted core shows up as black, moldy balsa wood. It is often soaking wet or may have disintegrated altogether. You can usually easily see the rot in the black areas while the white areas are good core material. Each area was cleaned out and squared off to make it easy to fit new core. A Shop-Vac is an essential tool for this part of the job.
With the rotted core removed, we left the job for a week to dry out. A hair dryer or heat gun is a helpful tool to get the wet area dry. While the core was drying we cut new balsa to fit the openings we had made. We also ground off the fiberglass around the opening to get good adhesion of the new deck laminate. Notice that the edges of the cut away areas have been ground back for good adhesion of the new fiberglass laminate. We also cut pieces of fiberglass to cover the balsa and the ground back area.
Because the boat was made with polyester we opted to use polyester for the repair rather than epoxy. Polyester is also a lot less expensive — if you can stand the styrene smell, that is. After wiping each area to be repaired with a solvent (Interlux’s 233N) to remove grease and dirt, we mixed a batch of polyester resin and MEKP (methyl ethyl ketone peroxide) and added a thickener such as West System’s 407. The thickened mixture was troweled into each open hole and the new balsa core pushed down into it. Where the deck was curved we weighted the balsa to make it adhere to the curve, by placing plastic and weights over the curing core.
We applied the thickened resin all around the hole to ensure that the new balsa was fully encapsulated and while the thickened mixture was still wet we laid fiberglass over each hole, lapping it over the ground back areas. We used three to four layers of 6-ounce cloth, but if you know the original laminate, then buildup your deck using the same laminate.
The gooped up fiberglass and balsa core was left to set up. At this point we had a slight recess in the deck level. This recess was deliberately left to give space for fairing compound. After the area had set up solid we ground off any slight roughness and made up a fairing mixture. I prefer to use AwlFair, but you can also use International’s Interfill 833. AwlFair is a professional compound that might be hard to get, but Interfill 833 can be purchased from some marine stores.
The filler was applied over the dimple in the deck and smoothed out using a trowel and a straight edge on flat areas in the cockpit. When it had dried it was sanded smooth. The patches in the deck were then coated with Interlux’s two-part Primekote. (As a general rule of thumb, if you use a two-part epoxy or polyester, use a two-part primer.)
The deck was finished by painting the white areas with Interlux’s high gloss Perfection. The grey areas with Interlux’s Interdeck Atlantic Grey. The entire job took about four to five man-hours per hole, to cut out the rot, install new balsa core, fair and repaint. As we had most of the materials on hand, we did not have a material cost, however, we can say that a random orbital sander is one of the best tools for smoothing out the deck — but you will need a lot of sanding disks!
——–
Roger Marshall is a Rhode Island-based freelance marine writer whose work has appeared worldwide in the New York Times, The Daily Telegraph (UK), The Providence Journal, Sports Illustrated and numerous other publications.